You will now explore the reflection of light rays leaving an object and striking a concave mirror.
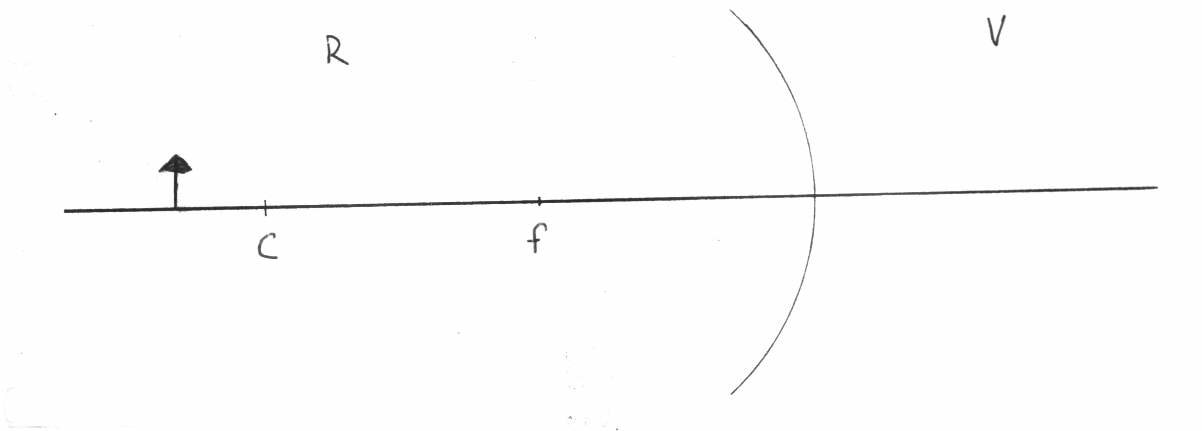
The arrow shown below will represent a simple object and should be drawn no more than 2 cm tall.
Please draw the arrow at least 4 cm behind (to the left of) C.
When you complete all of the easy rays you will be able to "see" the
image resulting from the reflection off the mirror.
You will then be able to determine the following characteristcs of
the image, which will be drawn in red at the end:
(a) Magnification (relative to the object) - Reduced or magnified
(b) Orientation (relative to the object) - Upright or inverted (is
it upside up or upside down)
(c) Type - Real or virtual (what side of the mirror is the image fromed
on)
(d) Location - location relative to C, f, and apex
What makes the Easy Rays "easy" is that you do not need to measure any angles.
Instead you use C, f, the apex, and the OA as references to direct specific light rays.
Try to think of an incident ray that would have an "easy" reflection to draw. No normal allowed.